My external hard drive suddenly stopped mounting on my Mac, and it has important photos and work files I haven’t backed up anywhere else. Disk Utility sees the drive, but I can’t open it or access the data. I need help figuring out the safest way to recover files from a hard drive that won’t mount on Mac without making the problem worse.
I’ve run into this on macOS enough times that I don’t assume the drive is dead anymore. Early on, I saw an external disk refuse to mount and figured my files were gone. Most of those cases turned out to be less dramatic. Usually it was a damaged file system, a hung macOS task, or a volume that sat there and refused to attach.
Before doing anything messy, I check the obvious stuff first.
Plug the drive straight into your Mac. Skip the hub or dock for now. Try a different cable. Move it to another USB or Thunderbolt port. If you have access to a second computer, test it there too. Then open Finder Settings and make sure external disks are set to show up on the desktop and in the sidebar. I missed that once and felt dumb for a solid ten minutes.
If Disk Utility shows the drive and the listed size looks close to what you expect, I usually take that as a good sign.
This only applies to drives with no clear hardware failure. If the disk does not appear in Disk Utility at all, shows some nonsense capacity, drops connection over and over, clicks, or does not spin up, I’d treat it as a hardware issue first. Software fixes usually do nothing there.
Method 1: Run First Aid on the Whole Drive
This is the first thing I try because it takes little effort.
1. Open Disk Utility.
2. Click View > Show All Devices.
3. Pick the physical drive at the top, not only the volume under it.
4. Click First Aid.
5. Approve the scan and wait.
6. Try mounting the drive again.
If the problem is a small file system error, this sometimes clears it up.
Method 2: Kill a Hung fsck Process
macOS sometimes starts a background file system check after a bad unplug or crash. I’ve seen it get stuck and hold the drive hostage.
1. Open Terminal.
2. Enter: sudo pkill -f fsck
3. Press Return.
4. Type your admin password if macOS asks for it.
5. Wait a bit.
6. See if the drive shows up.
This does not fix corruption. It only removes a stuck check process when it’s blocking access.
Method 3: Mount It Yourself in Terminal
Sometimes the volume is there, healthy enough, and macOS still refuses to mount it on its own.
1. Open Terminal.
2. Run: diskutil list
3. Find your drive identifier, something like disk4s1.
4. Run: diskutil mount /dev/disk4s1
5. Swap in your own identifier.
6. Press Return.
7. Read what Terminal reports back.
If it works, the drive usually appears right away.
Method 4: Reformat the Drive
If the earlier steps go nowhere, this is the last stop.
1. Open Disk Utility.
2. Click View > Show All Devices.
3. Select the physical drive.
4. Click Erase.
5. Give it a name.
6. Pick APFS if you only use Macs, or exFAT if you need Windows support too.
7. Click Erase.
8. Wait for it to finish.
If your files matter, I would not start with repair attempts. These steps are for getting the drive mountable again. Some of them change the file system while trying to fix it. Formatting is the obvious one, but repair tools do it too. I’ve seen recovery get harder after people rushed into First Aid and erase attempts.
What I do first is recover data, then mess with repairs.
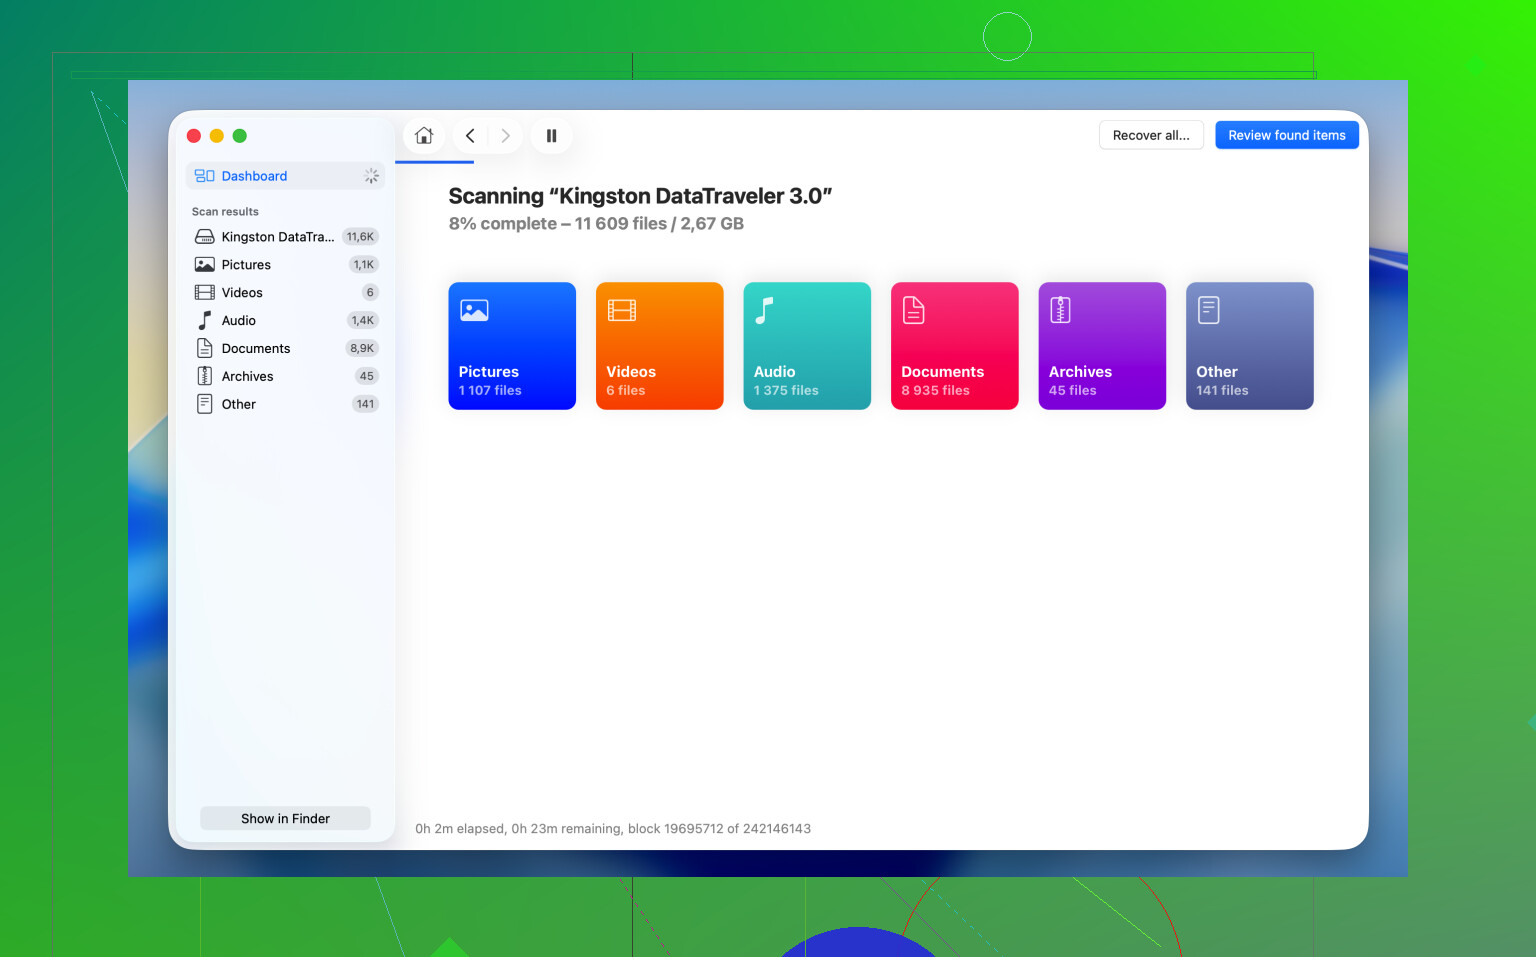
I usually reach for Disk Drill in this kind of case, mostly when the drive shows in Disk Utility but stays missing in Finder. macOS often gives up fast once the file system gets ugly. Disk Drill talks to the device more directly and scans for files even when the normal mount process fails.
The part I keep coming back to is the Byte-to-byte Backup feature. If the drive is acting flaky, disconnecting at random, or feeling unstable, I make an image first. It copies every readable sector into an image file, so you work from the copy instead of hammering the original disk again and again.
The basic flow looks like this:
1. Download and open Disk Drill.
2. Select the unmounted drive from the list.
3. Make a Byte-to-byte Backup first if the drive seems unstable.
4. Scan the drive, or scan the backup image.
5. Look through the found files.
6. Preview the important ones and make sure they open.
7. Recover them to a different drive.
After your files are safe and open fine from another device, go back and try the repair steps. At that point, if something goes sideways, you’re not making a bad situation worse. I learned that one the hard way.
1 Like
If Disk Utility sees the drive, your data still has a shot. I would not start with repair tools first. I know @mikeappsreviewer mentioned First Aid early, and I disagree a bit there if the files matter more than the disk. Repair writes to the drive. On a damaged file system, every write is a risk.
What I’d do first:
- Check S.M.A.R.T. status in Disk Utility if it shows up.
- Open System Information, then USB or Thunderbolt, and confirm the bridge and drive are detected cleanly.
- Try read-only access from another Mac, or a Linux live USB if the drive format is exFAT or NTFS. macOS sometimes chokes where Linux still reads files.
- If the drive mounts for even 30 seconds, copy the most important stuff first. Photos, docs, client files. Skip the big junk.
- If it never mounts, scan it with Disk Drill. It’s one of the top-rated data recovery tools for Mac and works well when an external hard drive is not mounting but still appears in Disk Utility.
If the drive is making noises, dropping off, or freezing Finder, stop plugging it in over and over. That makes a bad drive worse fast.
If you want options, this list of trusted data recovery software for Mac and external drives is worth a look too.
One more thing people miss. Check if the volume is encrypted with FileVault or was formatted on a diff Mac with permissions weirdness. I’ve seen drives look dead when it was a password or ownership issue. If Disk Utility shows the container but not the files, that’s a clue.
So yes, recovery is still possible. Focus on recovery first, repair second. Don’t erase it. Don’t keep poking at it blind.
If Disk Utility still sees the external drive, that usually means the situation is not hopeless. I mostly agree with @mikeappsreviewer and @byteguru on the big thing: do not erase it yet. Where I differ a bit is I also would not keep hammering it with lots of repair attempts just because First Aid exists. Sometimes macOS repair tools help, sometimes they just make a shaky file system shakier.
A couple things I’d check that they didn’t really dig into:
- Open Console while plugging the drive in and watch for I/O errors, timeout messages, or repeated disconnects.
- In Terminal, run
diskutil info diskXon the physical disk and look at the reported file system, read-only status, and whether the system thinks the media is damaged. - If it is an old spinning HDD in an external enclosure, the enclosure itself might be the problem, not the disk. I’ve seen cheap USB-SATA bridges die before the actual drive did. If you know what you’re doing, trying another enclosure can matter a lot.
- If the volume is gray in Disk Utility, check whether it simply failed to auto-mount because of permissions or an unclean eject, not full corruption.
If the files are important, I’d prioritize imaging or recovery over “fixing.” Disk Drill makes sense here because it can scan an unmounted drive and recover to another disk. That’s the key part people mess up. Recover to a different drive, not back onto the broken one. Kinda obvious, but ppl still do it.
Also, if Finder freezes every time the disk is connected, stop reconnecting it over and over. That’s a bad sign. At that point, fewer attempts is smarter.
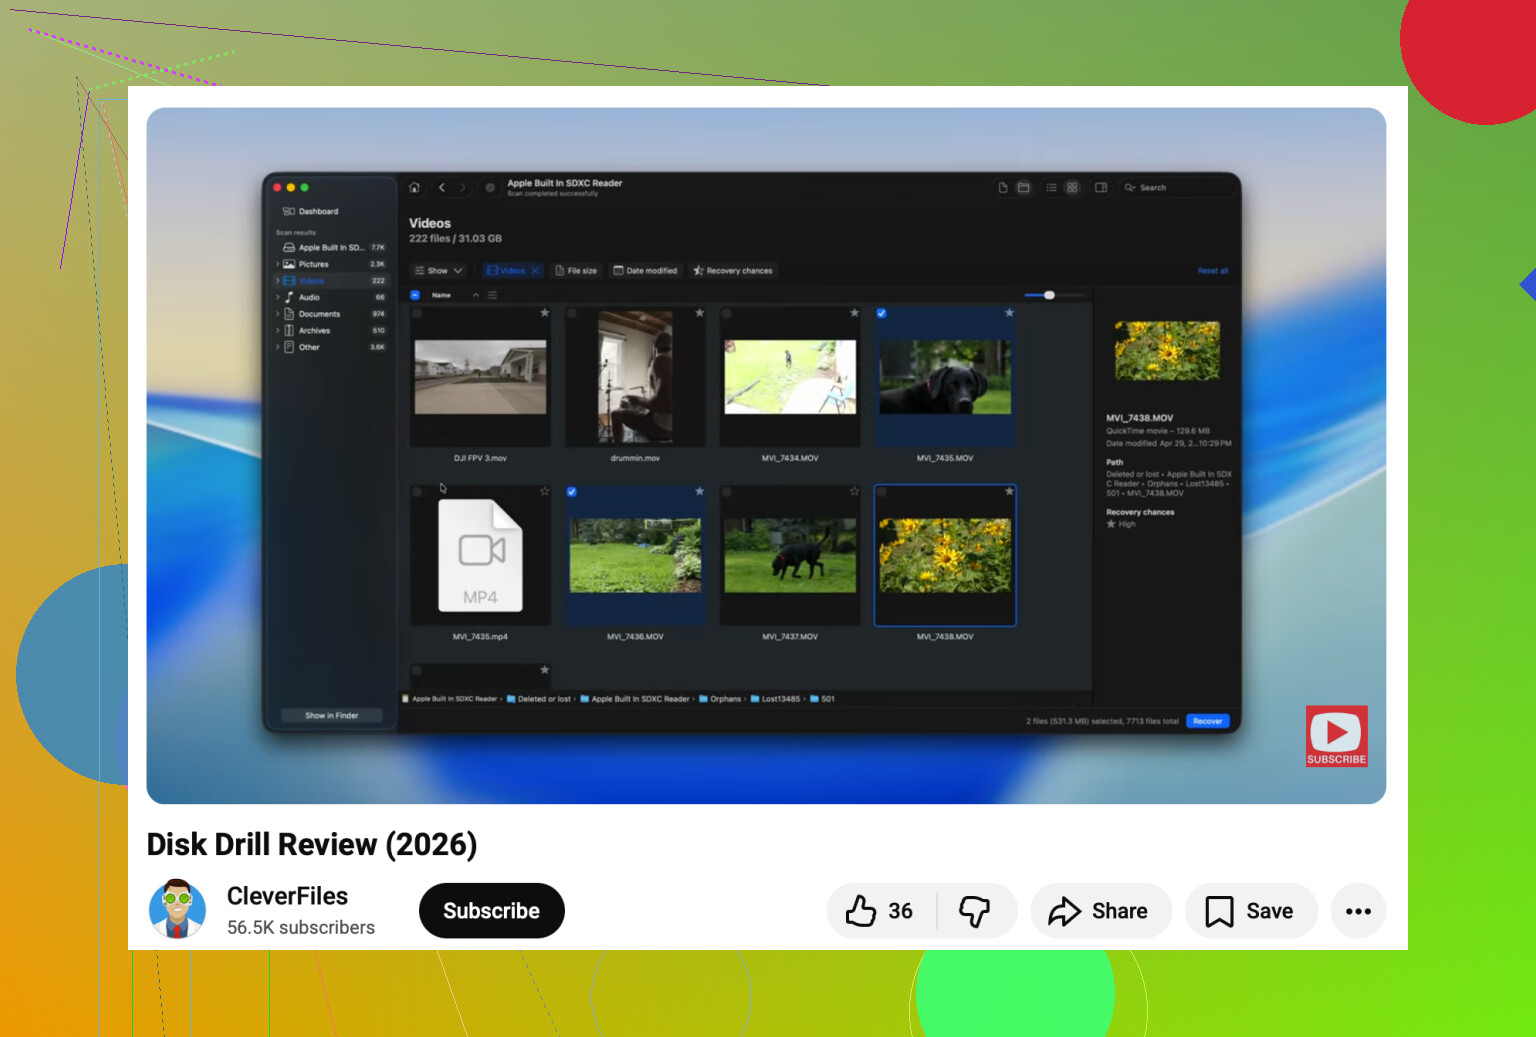
There’s also a decent step-by-step video on recovering a hard drive that won’t mount on Mac if you want to see the process instead of reading about it.
Short version: yes, recovery is still possible. Since the drive is visible in Disk Utility, your best path is recover first with something like Disk Drill, then worry about repairs after your photos and work files are safe.
One thing I’d add to what @byteguru, @ombrasilente, and @mikeappsreviewer covered: check whether the partition map is the real failure point, not the file system itself. I’ve seen drives where the volume won’t mount because the GPT entry is damaged, but the actual data area is still mostly intact. In Disk Utility, if the top-level device appears normal but the child volume looks odd, missing, or unnamed, that’s a clue.
I also slightly disagree with the “try lots of other systems” approach if the drive is unstable. If it disconnects, spins down weirdly, or beachballs your Mac, every extra test is just more stress. In that case, fewer reads are smarter.
My order would be:
- Check if the enclosure is bad
- If possible, clone/image first
- Then scan the clone, not the original
- Only after recovery, try repair
That’s where Disk Drill is useful. Biggest pro: it can work with drives that do not mount and lets you recover to another disk. Another pro: previewing files before recovery is handy. Con: deep scans can take forever. Con: results depend heavily on how damaged the drive or file system is, so it’s not magic.
If the disk is audibly clicking or vanishing from Disk Utility, skip software and go straight to a recovery lab. That’s the line where DIY gets expensive.