My Mac external hard drive suddenly stopped showing up in Finder, and it may have important photos and work files on it. Disk Utility can see the drive, but I’m not sure what steps are safe to try without risking data loss. I need help with the best way to recover files from a Mac external hard drive.
Deleted files often aren’t gone right away. A delete or quick format usually removes the file system’s pointer to the data, while the actual blocks may still be sitting there. Recovery is possible until something writes over them, the drive’s controller clears them, or the drive has physical damage.
The first thing to do is stop using that drive as much as you can. Normal activity can create logs, cache files, swap data, app updates, and other background writes, and any of that can land on top of the deleted data.
If it’s an external drive, unplug it for now. If the files were on your Mac’s internal drive, keep usage to a minimum and don’t install recovery tools onto that same volume.
Start with the safe stuff first. Check the macOS Trash. If the files were on an external volume, it may have its own hidden trash folder. Open the external drive in Finder, press Shift + Command + Period to show hidden files, then look for the .Trashes folder. If the files are there, you may be able to restore them with “Put Back.”
After that, check Time Machine if you had it enabled. Open Time Machine, go back to a backup from before the deletion happened, select the files you need, and restore them. Restoring from a backup is usually cleaner and safer than scanning the live drive.
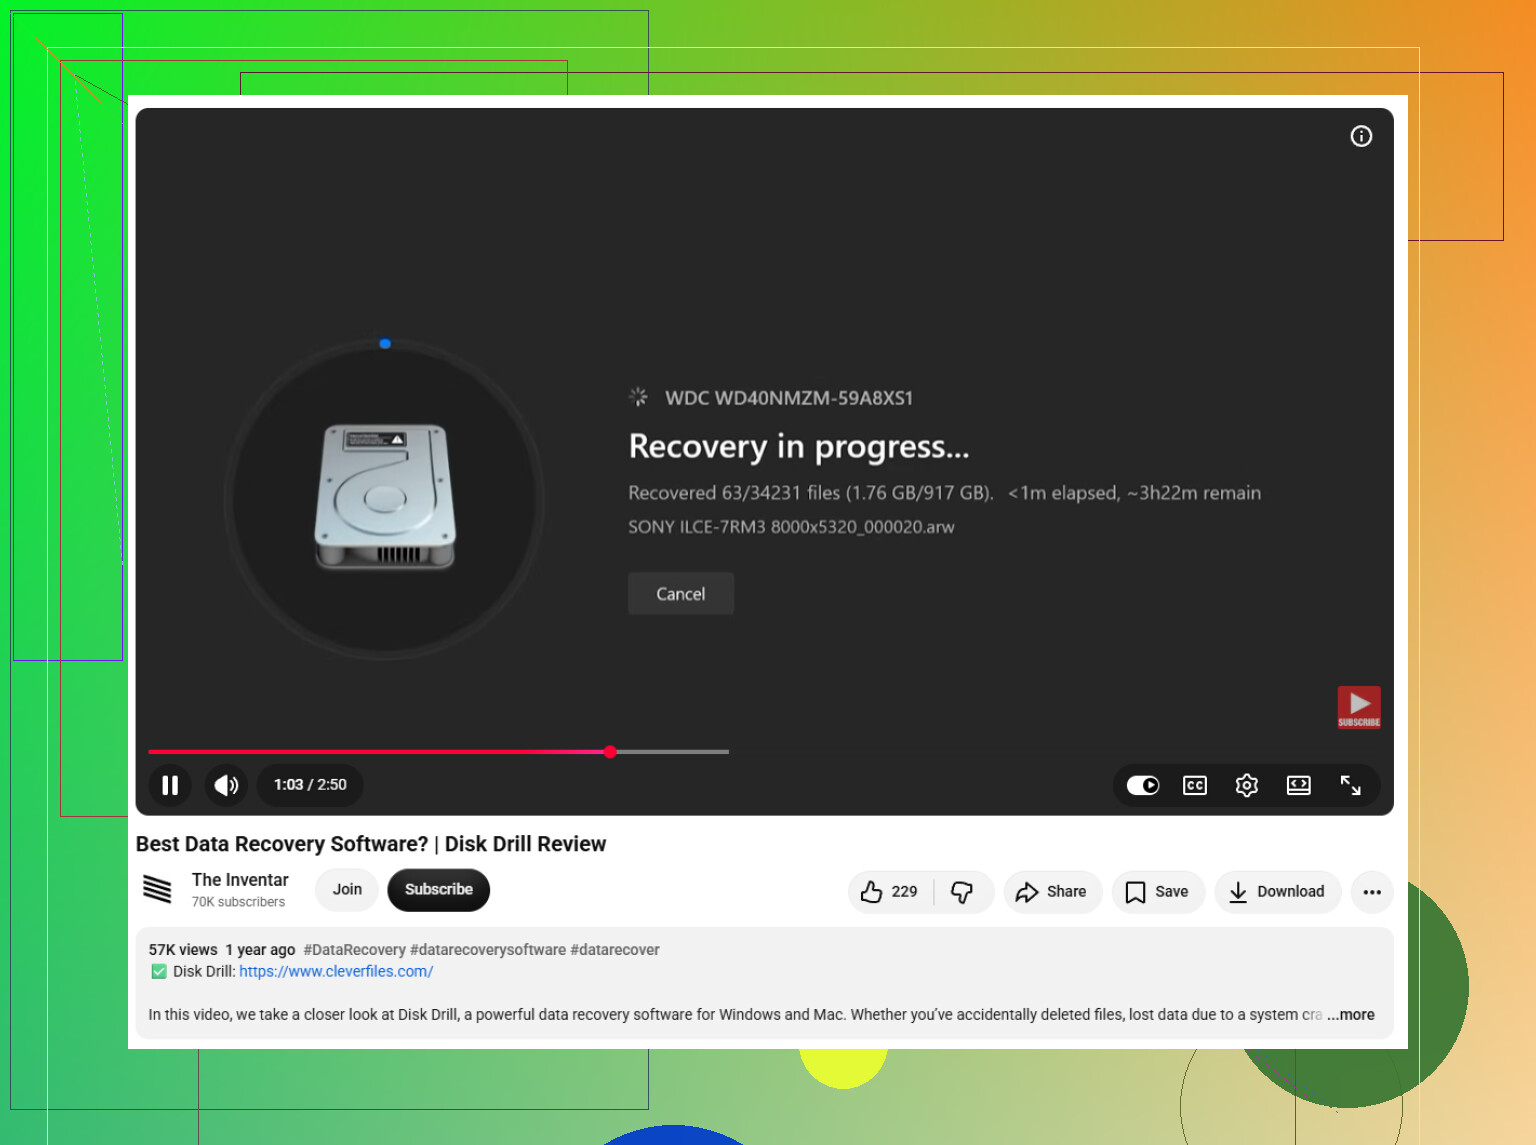
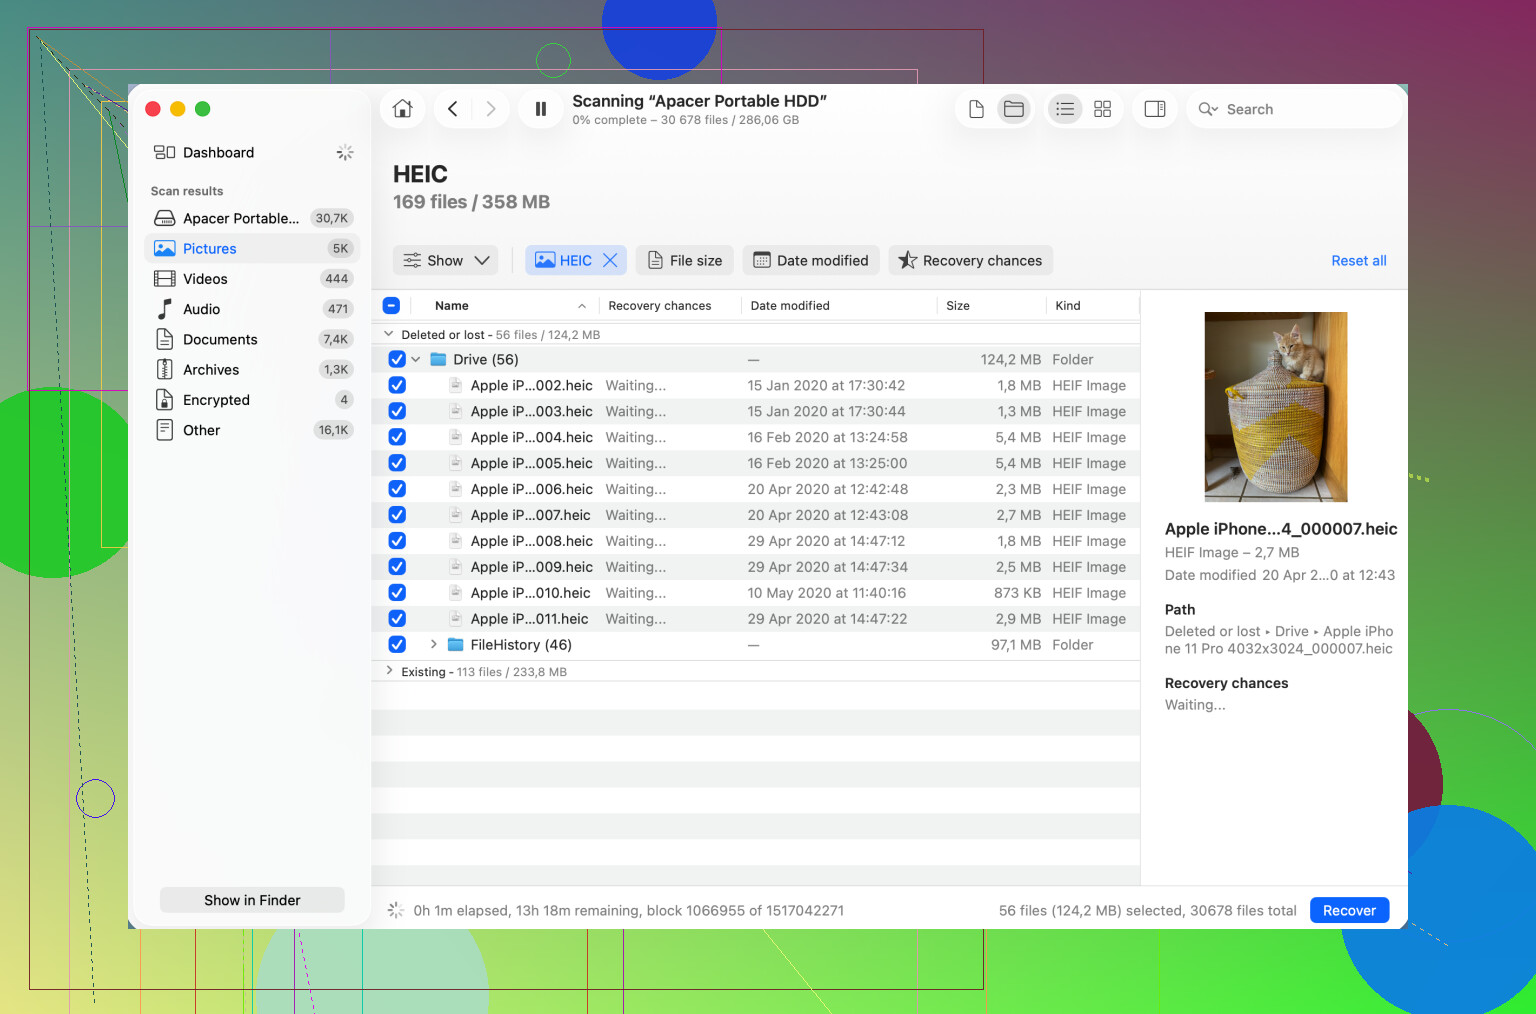
If there’s no backup, then use a real data recovery tool. Something like Disk Drill can scan common Mac file systems like APFS and HFS+, using both file system scans and signature-based scans.
Those two scan types do different things. A file system scan tries to rebuild deleted file records, including names, paths, and metadata when possible. A signature scan looks through the raw storage for known file patterns. That can still find files when the directory data is damaged, but the original names and folder structure may be missing.
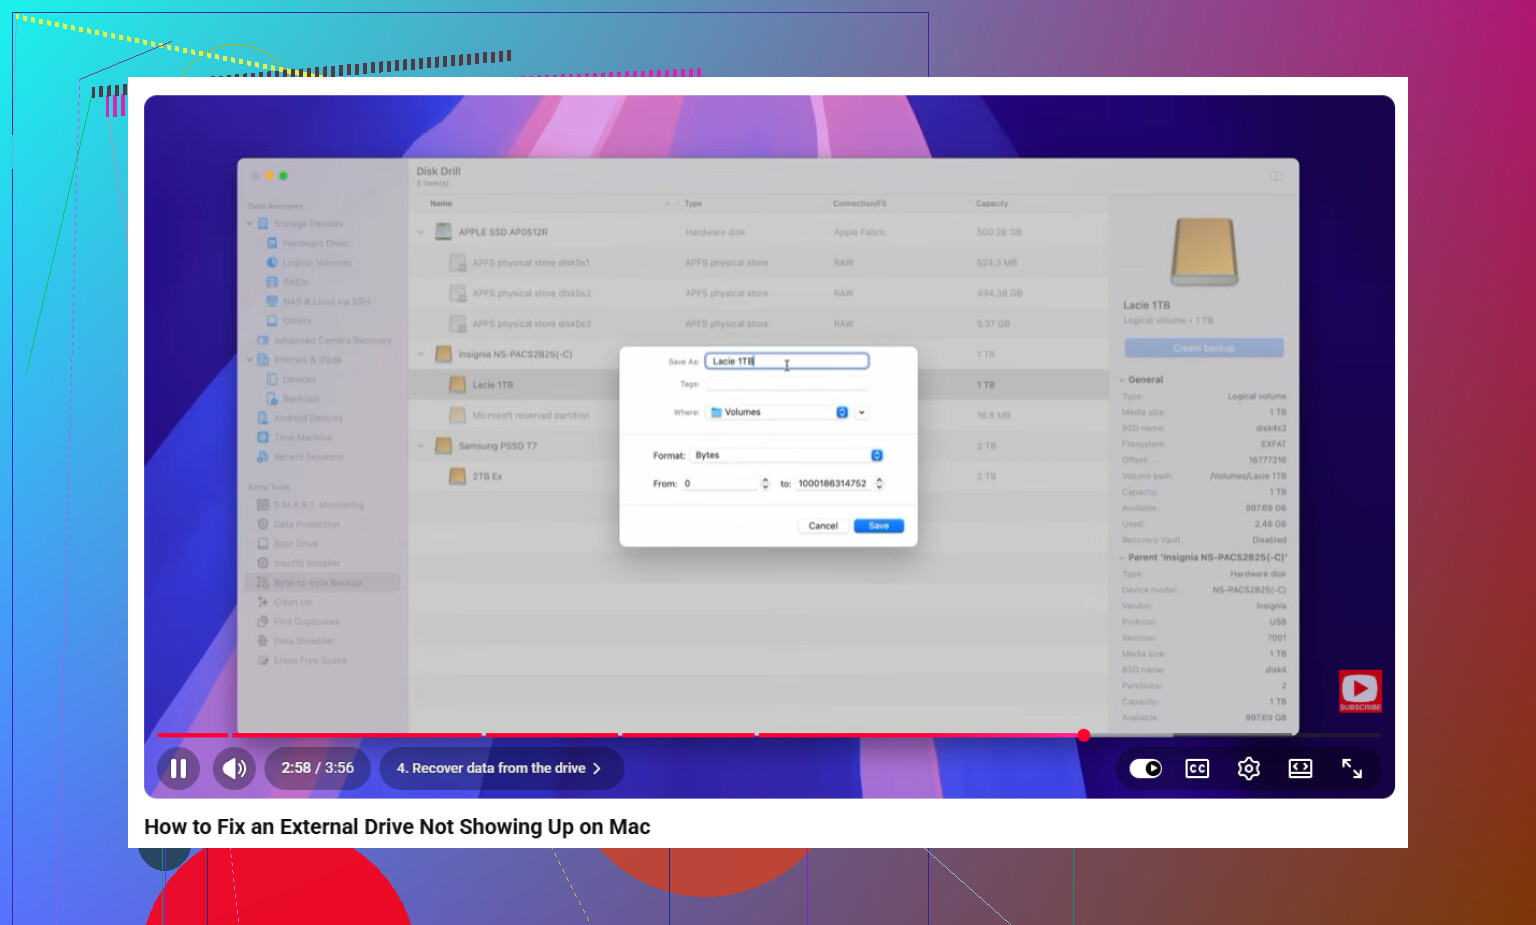
If the drive seems unstable, don’t keep hammering it with scans. Slow reads, random disconnects, I/O errors, or the drive only showing up sometimes can point to hardware or media problems. In that case, make a sector-by-sector or byte-for-byte image first, then scan the image instead of the original drive. That gives you a safer working copy and reduces stress on the failing hardware.
Mechanical warning signs are a bigger deal. Clicking, grinding, repeated spin-up attempts, strange recalibration sounds, or weird spin behavior can mean bad heads, motor issues, bearing problems, or platter damage. Don’t keep powering it on and don’t run long scans. If the data matters, disconnect it and send it to a professional clean-room recovery service.
Whatever you recover, save it to a different drive. Writing recovered files back to the same source volume can overwrite more data that might still be recoverable.
Once you’ve gotten back what you can, set up backups so this doesn’t turn into the same problem later. Time Machine is good for local versioned backups, and a cloud or off-site backup helps if the Mac or drive is stolen, damaged, or fails completely. Until then, leave the original drive alone, avoid extra writes, and work from the least risky recovery option toward the more advanced ones.
1 Like
Do not run First Aid, Initialize, or Erase just because Disk Utility can see the drive. If the files matter, first check whether the drive shows a correct size and SMART/status info, then make a clone/image to another disk before trying recovery software. Scanning the original is tempting, but if the drive is failing, every extra read can make the next attempt worse.
If Disk Utility shows the external device but not the volume underneath it, treat this less like a Finder problem and more like a partition/container problem.
Finder is almost the last thing I’d worry about here. Finder only shows a volume after macOS has been able to read enough of the file system and mount it. Disk Utility seeing the hardware only means the Mac can talk to the drive or its USB bridge. It does not mean the photos are safely readable.
A small thing people miss: check Disk Utility with View > Show All Devices turned on. Then look at the left sidebar carefully. There may be three different levels:
physical external drive
container or partition map
actual APFS/HFS/exFAT volume
That tells you a lot. If the physical drive is there with the right capacity, but the volume is greyed out, that is different from the whole drive showing as 0 bytes or constantly appearing and disappearing. If it shows the wrong size, stop messing with software and think hardware, cable, enclosure, or the drive itself.
I’d try the boring hardware checks before recovery scans, but only the safe ones:
Use a different USB cable.
Avoid a hub or dock for now. Plug it straight into the Mac if you can.
Try another port.
If it is a 3.5 inch desktop external drive, make sure its power brick is working.
If it is a portable spinning drive, do not use a weak adapter that cannot provide enough power.
If it is an old external enclosure, the enclosure/USB bridge may be the failed part, not the disk.
That last one matters. A lot of “dead external drive” cases are really “cheap enclosure electronics died.” If the drive inside is a normal SATA drive, moving it to a known-good USB dock/enclosure can sometimes make it readable again. But be careful with some branded externals, especially certain WD-style units, because the enclosure may handle encryption or sector translation. Pulling the bare drive out can make it look worse or unreadable even if the data is still there. So don’t crack the case open as the first move unless you understand what model you have and you’re okay with the warranty being gone.
I agree with @caminantenocturno about not running First Aid right away. People see that button and assume it is harmless because Apple put it there. It can be harmless on a healthy disk with a minor directory issue, but on a failing disk it can turn into a long read/write operation at the worst possible time. If you only need the data, the goal is not to “fix the drive.” The goal is to get a copy of the data off.
There is one place where I’d be slightly less strict than “clone first every time”: if the drive mounts one time and the folders open normally, copy the most important stuff immediately to another disk. Don’t start organizing. Don’t preview every video. Don’t run Photos library repair. Copy the irreplaceable folders first. Family photos, work docs, project files, whatever matters most. A perfect clone is better, yes, but if the drive is barely cooperating, a quick copy of the top-priority files may be the only easy chance you get.
If it will not mount, then make an image/clone before scanning if possible. You need another drive at least as large as the failing one. Not “as large as the used space,” but as large as the full device if you’re doing a sector copy. That catches people by surprise.
Disk Drill and similar tools make sense when the problem is logical damage: deleted files, damaged file system records, a volume that won’t mount but still reads consistently. The catch is that recovery software can spend hours reading the same sick drive. So if the disk is slow, disconnecting, clicking, or throwing I/O errors, scan an image instead of the original. If the software offers an option to create a byte-to-byte backup/image first, use that before the recovery scan.
If the volume is APFS encrypted, FileVault, or password protected, do not forget that recovery depends on unlocking it. A raw signature scan against encrypted data is not going to magically reconstruct normal files. You need the password/recovery key, and ideally the APFS container still needs to be readable enough to unlock. If Disk Utility shows a locked volume, try unlocking it there, but don’t erase or reformat when macOS offers to “initialize” something.
Another practical check: open Disk Utility, select the volume if it appears, and see whether there is a Mount button. Pressing Mount is usually less risky than First Aid. If it mounts but still doesn’t appear in Finder, check Finder Settings > Sidebar and make sure External disks are enabled. You can also look under /Volumes in Finder using Go > Go to Folder and typing:
/Volumes
That does not recover anything, but it can tell you whether the drive mounted and Finder just isn’t showing it where you expect.
Do not save recovered files back to that same external drive. That sounds obvious, but it is an easy mistake when recovery software asks for a destination and the old drive is the biggest disk attached. Use a different external disk, your internal drive if it has room, or network storage.
My rough order would be:
- Stop using the drive.
- Try a different cable/port/power path.
- Check Disk Utility with Show All Devices.
- If it mounts once, copy the most important files first.
- If it does not mount but reads steadily, image/clone it to another disk.
- Run recovery software against the image, not the original, when possible.
- If it makes bad mechanical noises or vanishes constantly, stop and consider a lab.
The biggest mistake is trying five “repair” attempts before making any copy. Every attempt feels small by itself, but together they can burn the limited time the drive has left.