I accidentally permanently deleted important files on my Windows 11 PC and already emptied the Recycle Bin. I’m trying to figure out the best place to start, whether that’s File History, Windows backup, or a safe recovery tool. These files include personal documents I really need, so I’d appreciate advice on the safest way to recover permanently deleted files in Windows 11 without making things worse.
Hi,
I wouldn’t write those files off yet. When Windows 11 says something was permanently deleted, it often means the system removed the file’s listing first. The raw data usually stays on the drive for a while, until new data lands in the same spot.
So yeah, speed matters here. I’d stop using the affected drive as much as possible until you try recovery. Don’t install apps to it. Don’t download updates to it. Don’t move photos around on it. Even normal use can overwrite the space where the deleted file still sits. If your drive is an SSD, there’s another problem, TRIM. On some systems, TRIM wipes deleted blocks in the background, and recovery gets a lot harder, fast.
Before trying recovery tools, I’d check the boring stuff first, because sometimes the file is still sitting somewhere else and people miss it. Windows 11 often syncs folders into OneDrive. File History gets turned on more than people remember. I’ve also seen files show up on an external backup drive, a NAS box, another PC, or some cloud account the user forgot they linked months ago.
If File History was on, this is the path I’d try:
- Open Start.
- Search for Restore your files with File History.
- Open it, then go to the folder where the file used to live.
- Flip through the saved dates.
- Pick the version you want and restore it.
If backups come up empty, then I’d move to recovery software.
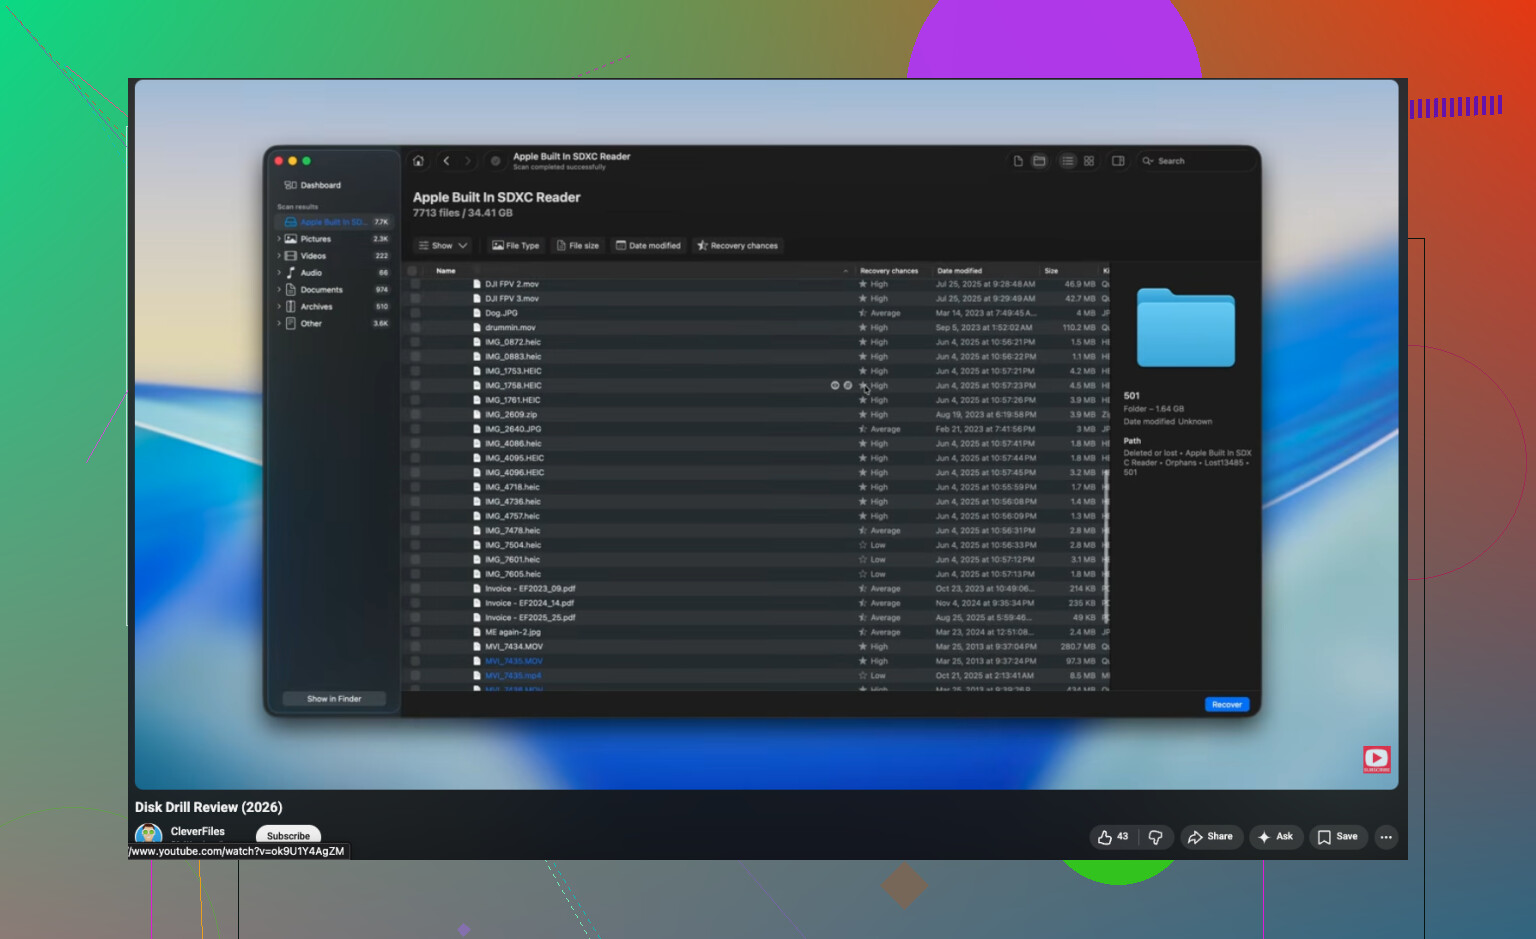
For a plain delete case, I’d start with Disk Drill. I used it because it didn’t ask me to know a bunch of low-level drive stuff. You open it, pick the drive, run the scan, then sort through what it finds. In a lot of cases, it pulls files back with the original file names and folder paths, which saves a ton of sorting later. Well, some sorting.
The usual process looks like this:
- Install Disk Drill, ideally on a different drive from the one where the files were deleted.
- Select the affected drive.
- Run a full scan.
- Browse or search the scan results.
- Preview the files you want back.
- Recover them to another drive or storage device.
The preview tool is the part I liked most. It lets you check whether the file is intact before restoring it, which saves time if the scan returns a mess of broken entries. On Windows, you’re able to scan and preview freely, and recovery is free up to 100 MB.
One thing though, software is not always the right move. If the drive vanished from Windows, starts clicking, drops connection, throws hardware errors, or holds stuff you can’t afford to lose, I’d stop and look at a professional recovery service instead. Once the problem shifts from deleted files to failing hardware, DIY tools tend to hit a wall. I learned tht one the annoying way.
1 Like
Start with one thing. Stop writing to the drive where the files were deleted. If your deleted files were on C:, shut the PC down if the data matters a lot. Boot from another drive or connect the disk to another computer. I know @mikeappsreviewer covered backup checks and scanning, but I’d put drive type near the top first.
Why. HDD and SSD behave differently. On SSDs, TRIM often clears deleted blocks fast. Recovery rates drop hard after normal use. On HDDs, you often get a bigger recovery window.
Quick order I’d use:
- Check if the files lived in OneDrive, SharePoint, Google Drive, Dropbox, or an email attachment folder.
- Check Windows Previous Versions. Right click the parent folder, Properties, Previous Versions. This works if System Protection or backup snapshots existed.
- Check Windows Backup and Restore, the old Windows 7 tool still shows up on Win 11 on some systems.
- If no backup exists, run recovery software from another drive. Disk Drill is a solid first pick because search and preview are easy, which matters when you need to sort results fast.
- Save recovered files to a different disk, not back to the source. Peolpe mess this up all the time.
If the files were deleted from an external drive, SD card, or USB stick, your odds are often beter than from the internal SSD.
Also, if you want a quick visual on recovery tools, this short video on file recovery software for Windows is easy to skim.

First thing I’d do is figure out where the files were deleted from, because that changes the odds a lot more than people think.
If it was your internal Windows 11 SSD, I slightly disagree with @mikeappsreviewer and @nachtdromer on one thing: I would not spend too long clicking through every Windows feature before checking whether the data is still physically recoverable. A quick check of OneDrive or File History is fine, sure, but if this was deleted from C: on an SSD, time is the enemy. Windows keeps writing temp files, updates, browser cache, all that junk.
So my order would be:
- Stop using that drive.
- Check OneDrive web recycle bin and any synced cloud account.
- If the files matter, remove the drive or boot from another device if possible.
- Run a read-only scan with Disk Drill from another drive.
- Recover found files to a different disk.
One extra thing people forget: Office apps and Adobe stuff sometimes leave temp/autosave copies behind. Check:
%AppData%%LocalAppData%- your Office AutoRecover folder
- recent files lists inside Word/Excel/etc.
Also check Windows Search indexing sometimes the file name still appears, which helps you confirm exact folder/name before recovery.
If you want a simple overview, this easy Disk Drill review for Windows file recovery gives a decent quick look at what it does.
Short version: backup features first only if you can verify them fast. Otherwise start recovery asap, and do not restore back onto the same drive. That’s the part people mess up al lthe time.
I’d add one angle the others barely touched: check whether the file was ever copied, not just backed up.
Windows 11 apps leave duplicates all over the place. Photos might exist in the Photos app import cache, messaging apps, phone sync folders, USB import folders, or app-specific libraries. Docs may still be in Recent, temporary export folders, printer spool export paths, or an app’s own recovery cache. I’ve seen people “recover” a deleted file just by searching for the same extension plus modified date in Explorer.
A few useful checks:
- Open the app that created the file and inspect its Recent list
- Search by file type, not just file name:
*.docx,*.psd,*.jpg - Check hidden folders and sort by Date Modified
- Look at browser download history if the file originally came from email or web
I slightly disagree with spending too much time on Previous Versions if you already know protection was off. Fast verification is fine, but don’t turn this into a scavenger hunt.
As for tools, Disk Drill is reasonable when you need readable results fast.
Pros:
- clean interface
- good preview support
- easy filtering by type and path
Cons:
- free recovery limit on Windows is small
- deep scans can return lots of junk
- not magical on SSDs after TRIM
Also worth knowing: Recuva is simpler, PhotoRec is stronger but ugly, and R-Studio is more advanced if you know what you’re doing.
So yeah, @nachtdromer, @byteguru, and @mikeappsreviewer covered the big recovery order. I’d just add duplicate-hunting before assuming the file is truly gone.